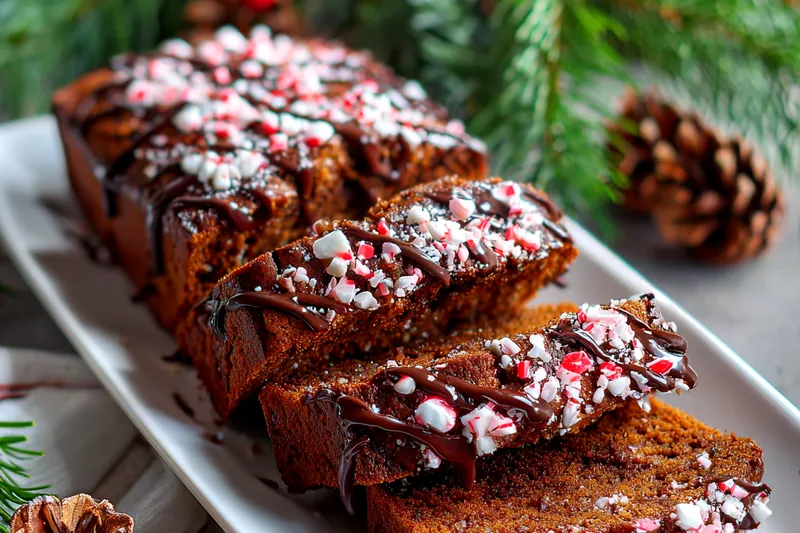
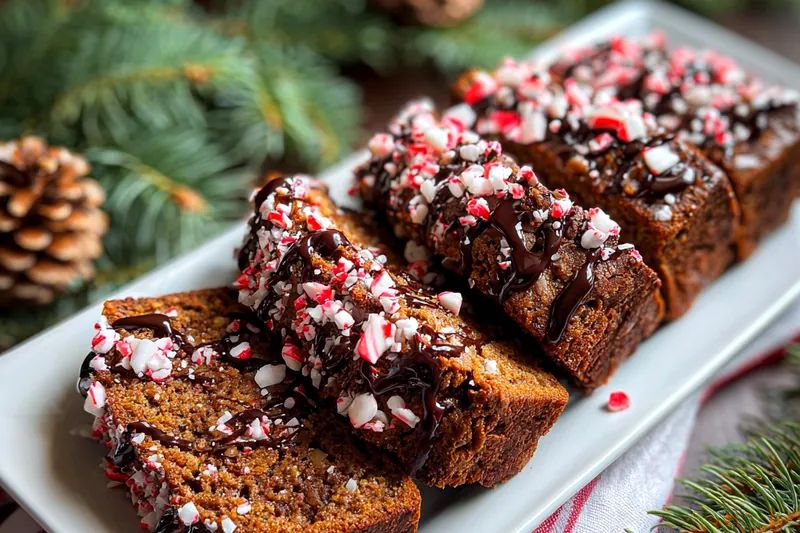
Festive Chocolate Peppermint Bread
Festive Chocolate Peppermint Bread is a delightful treat that combines the rich flavors of chocolate with the refreshing hint of peppermint. Perfect for holiday gatherings, this bread is moist, flavorful, and sure to impress your guests. Whether enjoyed as a dessert or a special breakfast, it embodies the spirit of the season. Easy to make and even easier to love, it's a recipe you'll want to share with everyone.


Why This Festive Chocolate Peppermint Bread Recipe Works
This recipe stands out due to its unique combination of rich chocolate and refreshing peppermint, creating a festive flavor that is perfect for the holiday season. The use of high-quality cocoa powder ensures a deep chocolate flavor, while the peppermint adds an unexpected twist that elevates the overall taste. It's not just delicious; it also fills your home with a wonderful holiday aroma while baking.
The technique used in this recipe allows for a moist and tender bread that retains its freshness for days. By creaming the butter and sugars well, we create air pockets that lead to a light texture. Alternating the dry and wet ingredients while mixing prevents overmixing, ensuring that the bread rises beautifully without becoming dense.
💡 Professional Tip
For the best results, ensure all your ingredients are at room temperature before you begin. This helps in achieving a smooth batter and ensures even baking. Additionally, don't overmix the batter; just stir until the ingredients are combined to maintain the bread's lightness.
Frequently Asked Questions
Yes, you can prepare the batter a day in advance and store it in the refrigerator. Just remember to bring it to room temperature before baking. Alternatively, you can bake the bread ahead of time and store it wrapped in plastic wrap at room temperature for up to two days, or in the fridge for up to a week.
You can use gluten-free all-purpose flour if you're looking for a gluten-free option. Almond flour can also work, but it might change the texture slightly, so keep that in mind. For a more nutritious approach, you could try whole wheat flour, though it may result in a denser bread.
To check if the bread is done, insert a toothpick into the center of the loaf. If it comes out clean or with a few moist crumbs, it's ready. If the toothpick has wet batter on it, bake for a few more minutes and check again. The edges should also be pulling away slightly from the sides of the pan.
Absolutely! You can freeze the bread after it has cooled completely. Wrap it tightly in plastic wrap and then in aluminum foil to prevent freezer burn. It will keep well in the freezer for up to three months. When ready to enjoy, thaw it in the refrigerator overnight and bring it to room temperature before serving.
This bread pairs wonderfully with a dollop of whipped cream or a scoop of vanilla ice cream for dessert. For breakfast, you can enjoy it with a drizzle of maple syrup or a spread of cream cheese. A cup of coffee or hot chocolate complements it perfectly, enhancing the festive experience.
When stored properly in an airtight container, Festive Chocolate Peppermint Bread can last in the fridge for about one week. Just make sure to let it cool completely before storing to avoid moisture buildup. If you're not planning to consume it within that time, consider freezing it instead.
Yes, you can definitely make this bread in advance. It's actually a great make-ahead option for holiday gatherings. Bake the bread, allow it to cool, wrap it tightly, and store it in the fridge or freezer. When you're ready to serve, just let it come to room temperature or reheat slightly in the oven.
To reheat the bread, preheat your oven to 350°F (175°C). Wrap the bread in aluminum foil and place it in the oven for about 10-15 minutes until warmed through. This method keeps the bread moist. Alternatively, you can use a microwave, heating slices for about 10-15 seconds, but be cautious not to overheat to avoid a chewy texture.
Recipe Troubleshooting Guide
Too Dry
Problem: If your bread turns out too dry, it may have been overbaked or too much flour was used.
Solution: To prevent dryness, ensure you measure ingredients accurately, especially flour. Also, monitor the baking time closely and start checking for doneness a few minutes before the suggested time.
Not Crispy Enough
Problem: If the crust of the bread is not crispy, it might be due to insufficient baking time or low oven temperature.
Solution: Ensure your oven is properly preheated and consider baking the bread a bit longer for a crispier crust. You can also place a baking stone in the oven to help retain heat and create a better crust.
Overcooked
Problem: If the bread is overcooked, it may have a hard texture and dry crumb.
Prevention: To avoid overcooking, always check for doneness a few minutes early. Use an oven thermometer to ensure your oven is at the correct temperature, and rotate the bread halfway through baking for even cooking.
Undercooked Center
Problem: If the center of the bread is undercooked, it may not have risen properly and could appear wet.
Recovery: In case of an undercooked center, cover the bread loosely with foil and return it to the oven for an additional 10-15 minutes. This will allow the center to cook without overbaking the outer crust.
Burnt Exterior
Problem: If the exterior of the bread is burnt, it may be due to too high of an oven temperature or baking it for too long.
Prevention: To prevent burning, ensure your oven temperature is accurate and consider using the middle rack for even heat distribution. If necessary, cover the bread with foil to protect it from direct heat.
Flavor Balance
Too Sweet: If the bread is too sweet, consider reducing the sugar by a quarter next time or adding a pinch of salt to balance flavors.
Too Salty: If the bread tastes too salty, check the amount of salt you used, and if it’s excessive, you might need to balance it with a sweeter ingredient next time.
Bland: If you find the bread bland, try increasing the amount of cocoa or peppermint extract for a more pronounced flavor next time.
Essential Ingredients for Festive Chocolate Peppermint Bread
The key ingredients in this recipe include high-quality cocoa powder for a rich chocolate flavor, granulated sugar for sweetness, and peppermint extract to give it that festive zing. Fresh eggs add moisture and structure, while chocolate chips provide delightful pockets of melted chocolate throughout the bread. Finally, crushed peppermint candies add a decorative touch and a refreshing crunch.
When selecting ingredients, always opt for the best quality you can find. For instance, using Dutch-processed cocoa powder can enhance the chocolate flavor significantly. Fresh eggs are essential for achieving the right texture, while good-quality chocolate chips will melt beautifully and provide a richer taste. The peppermint candies should be fresh to ensure maximum flavor.
Essential Ingredient Notes
- Cocoa Powder: Using high-quality cocoa powder is crucial for achieving the deep chocolate flavor. Look for unsweetened cocoa that has a rich color and aroma. Dutch-processed cocoa powder can give a smoother, less acidic taste, making it a preferred choice for this recipe.
- Chocolate Chips: Opt for semi-sweet or dark chocolate chips for a richer flavor. They should be of high quality to melt beautifully into the bread, creating gooey pockets of chocolate. For a twist, try using white chocolate chips or a mix of different types.
- Peppermint Extract: The peppermint extract is what gives this bread its festive flair. Use pure peppermint extract for the best flavor. Avoid imitation extracts as they can have a synthetic taste that detracts from the overall quality of the bread.
Step-by-Step Cooking Process
Baking Festive Chocolate Peppermint Bread is a straightforward process that requires minimal effort. Start by mixing the dry ingredients in one bowl and the wet ingredients in another. Combining them carefully ensures the bread develops a light texture. The key is to avoid overmixing, which can lead to a dense loaf.
By following each step diligently, you can achieve a perfectly baked bread with a soft, moist interior and a delightful crust. Pay attention to baking times and temperatures, as they can vary between ovens, ensuring your bread is baked to perfection.
Key Technique for Perfect Festive Chocolate Peppermint Bread
The most critical technique in this recipe is the method of combining wet and dry ingredients. By alternating the two, you create a batter that is well-mixed but not overworked. This leads to a lighter bread that retains its moisture. Additionally, letting the bread cool in the pan before transferring it to a wire rack helps maintain its structure.
Festive Chocolate Peppermint Bread
📋 Ingredients
Main Ingredients
- 1 cup butterRoom temperature
For the Sauce
- 2 cups all-purpose flourFor the bread
- 1 cup unsweetened cocoa powderRich flavor
- 1 cup granulated sugarFor sweetness
- 1/2 cup brown sugarAdds moisture
- 1/2 cup unsalted butterSoftened
- 1 cup milkFor moistness
- 3 large eggsFor structure
- 1 tsp vanilla extractEnhances flavor
Instructions
Preheat Oven
Preheat your oven to 350°F (175°C). Prepare a loaf pan by greasing it lightly.
Mix Dry Ingredients
In a bowl, whisk together the flour, cocoa powder, baking powder, baking soda, and salt.
Cream Butter and Sugars
In a separate bowl, cream together the softened butter, granulated sugar, and brown sugar until light and fluffy.
Add Eggs and Extracts
Beat in the eggs, vanilla extract, and peppermint extract until well combined.
Combine Mixtures
Gradually add the dry ingredient mixture to the wet ingredients, alternating with the milk. Stir until just combined.
Add Chocolate Chips
Fold in the chocolate chips and crushed peppermint candies.
Pour into Pan
Pour the batter into the prepared loaf pan, smoothing the top.
Bake
Bake in preheated oven for 45-50 minutes or until a toothpick inserted into the center comes out clean.
Cool and Serve
Allow the bread to cool in the pan for 10 minutes before transferring to a wire rack. Dust with powdered sugar before serving.
Recipe Notes & Tips
Storage Tips
To store your Festive Chocolate Peppermint Bread, wrap it tightly in plastic wrap or aluminum foil. If stored at room temperature, it should last for about two days. For longer storage, keep it in the refrigerator for up to a week or freeze it for up to three months.
Serving Suggestions
Serve this delightful bread with a dollop of whipped cream or a scoop of vanilla ice cream for an extra treat. You can also enjoy it as a breakfast option with a spread of butter or cream cheese. Pair it with a warm cup of coffee or hot chocolate to enhance the festive flavors.
Recipe Variations
For variations, consider adding chopped nuts like walnuts or pecans for added crunch. You can also experiment with different types of chocolate, such as dark, milk, or even white chocolate. If you prefer a less sweet bread, reduce the sugar and enhance the cocoa for a richer chocolate flavor.