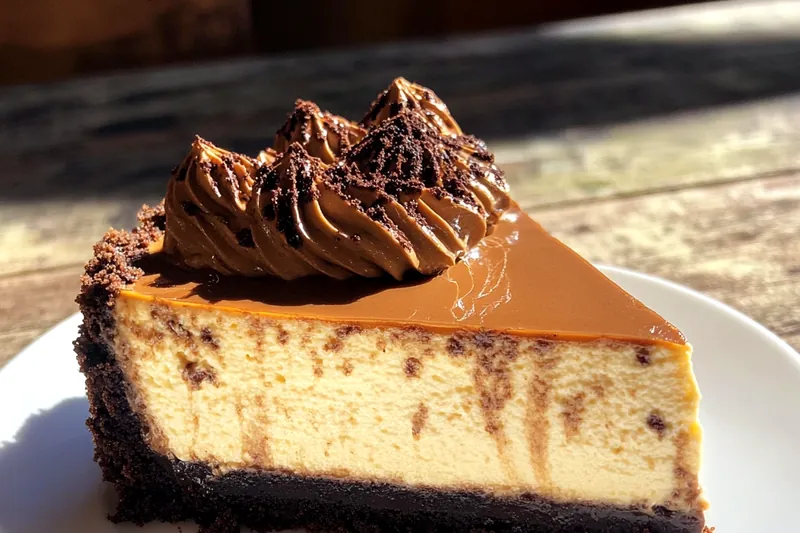
Decadent Espresso Cheesecake
Experience the rich flavors of coffee in this Decadent Espresso Cheesecake that is perfect for any occasion. With a creamy texture and a chocolatey crust, this dessert will tantalize your taste buds. The espresso adds a delightful bitterness that balances the sweetness, making it a crowd-pleaser. Perfect for coffee lovers and dessert enthusiasts alike!


Why This Decadent Espresso Cheesecake Recipe Works
This Decadent Espresso Cheesecake combines the rich, robust flavor of espresso with a creamy, smooth filling. The chocolate crust adds an additional layer of flavor, creating a delightful balance. Utilizing quality ingredients ensures a luxurious texture that melts in your mouth. It's a crowd-pleaser that stands out on any dessert table.
The flavor profile offers a wonderful mix of sweetness from the cheesecake and a slight bitterness from the espresso. The creamy texture contrasts beautifully with the chocolatey crust, making each bite an experience. Baking it slowly in a water bath helps prevent cracks and ensures even cooking, enhancing the overall quality of the cheesecake.
💡 Professional Tip
For the best results, use room temperature cream cheese to avoid lumps. Additionally, allow the cheesecake to cool slowly in the oven to prevent cracking.
Frequently Asked Questions
Yes, you can prepare the cheesecake a day in advance. After baking, let it cool and then refrigerate it overnight. This enhances the flavors and allows for easier slicing when you're ready to serve.
You can substitute sour cream with Greek yogurt for a similar tangy flavor and creamy texture. Alternatively, use crème fraîche for a rich, smooth finish.
The best method is to bake the cheesecake in a water bath. This technique helps regulate the temperature, preventing cracks and ensuring a creamy texture. If you don't have a springform pan, using a regular cake pan with foil is a good alternative.
To prevent cracks, be sure to mix the cheesecake filling on low speed to avoid incorporating too much air. Baking slowly at a lower temperature and allowing the cheesecake to cool gradually in the oven also helps.
The cheesecake is done when the edges are set and the center slightly jiggles when you gently shake the pan. It will continue to set as it cools.
This cheesecake pairs wonderfully with a rich espresso, cappuccino, or a glass of dessert wine. Fresh berries can also add a refreshing contrast to the rich flavors.
Yes, you can make it gluten-free by using gluten-free graham cracker crumbs for the crust. Ensure all other ingredients are gluten-free as well.
Store leftovers in an airtight container in the refrigerator for up to 5 days. For longer storage, you can freeze individual slices wrapped tightly in plastic wrap.
Recipe Troubleshooting Guide
Cracked Surface
Problem: If your cheesecake has cracks on the surface, it may have baked too quickly or been overmixed.
Solution: To avoid this, mix the filling on low speed and bake at a lower temperature. Allow the cheesecake to cool gradually to prevent sudden temperature changes.
Cheesecake Is Too Dense
Problem: A dense cheesecake may result from overmixing or using cold ingredients.
Solution: Always ensure your ingredients are at room temperature before mixing, and mix only until combined for a lighter texture.
Cheesecake Is Sinking in the Middle
Problem: If your cheesecake sinks in the middle, it might have been undercooked or cooled too quickly.
Prevention: Bake until the edges are set and the center jiggles slightly. Cool gradually in the oven to avoid sudden temperature changes.
Crust Is Soggy
Problem: A soggy crust can occur if the crust is not baked long enough.
Recovery: Pre-bake the crust for about 10 minutes before adding the filling to ensure it sets properly.
Too Sweet
Problem: If the cheesecake is too sweet, it can overpower the coffee flavor.
Prevention: Balance the sweetness by adding a pinch of salt or reducing the amount of sugar in the recipe.
Flavor Balance Issues
Too Sweet: If the cheesecake is too sweet, reduce the sugar in the filling by a couple of tablespoons.
Too Salty: If it's too salty, consider increasing the sweetness slightly or serving with a sweet topping.
Bland: If bland, enhance the flavor by adding more espresso powder or a bit of vanilla extract.
Choosing the Best Ingredients for Decadent Espresso Cheesecake
Selecting high-quality ingredients is crucial for achieving a luxurious cheesecake. Use fresh cream cheese for a creamy texture and rich flavor. Choose strong espresso powder to ensure the coffee flavor stands out in the final dessert.
Pay attention to the vanilla extract; pure vanilla will provide a depth of flavor that imitation extracts lack. Always use unsweetened cocoa powder to balance the sweetness of the cheesecake.
Essential Ingredient Notes
- Cream Cheese: Opt for full-fat cream cheese for a rich, creamy texture. Soften it before mixing to avoid lumps and ensure even blending.
- Espresso Powder: Choose a high-quality espresso powder for the best flavor. It's essential for infusing the cheesecake with that deep coffee taste.
- Graham Crackers: Select plain graham crackers or chocolate-flavored for the crust. Crushing them finely will help achieve a uniform crust that holds together well.

Mastering the Cooking Technique
The key to a successful cheesecake is in the baking technique. Using a water bath helps create a gentle cooking environment that prevents cracks and promotes even baking. This technique is essential for achieving that perfect creamy texture.
Monitor the baking time carefully; each oven is different. Look for a slight jiggle in the center to indicate that the cheesecake is done. Chilling it properly afterward is crucial for the best flavor and texture.
The Secret to Perfect Decadent Espresso Cheesecake
The most important technique for this cheesecake is the water bath method. It ensures even cooking and prevents cracks, resulting in a stunning, creamy dessert.
Decadent Espresso Cheesecake
📋 Ingredients
{{ingredient_category_1}}
-
{{sauce_ingredients}}
{{ingredient_category_2}}
-
{{main_ingredients}}
Instructions
-
{{instructions_list}}
Recipe Notes & Tips
{{note_1_title}}
{{note_1_content}}
{{note_2_title}}
{{note_2_content}}
{{note_3_title}}
{{note_3_content}}